
Clay is a fascinating (and sometimes frustrating!) substance. It has completely different properties at different stages throughout its drying and firing cycle.
Understanding the different stages of clay is essential as you begin to craft your first pots from the wettest form of clay at the beginning all the way to the hardest state at the end.
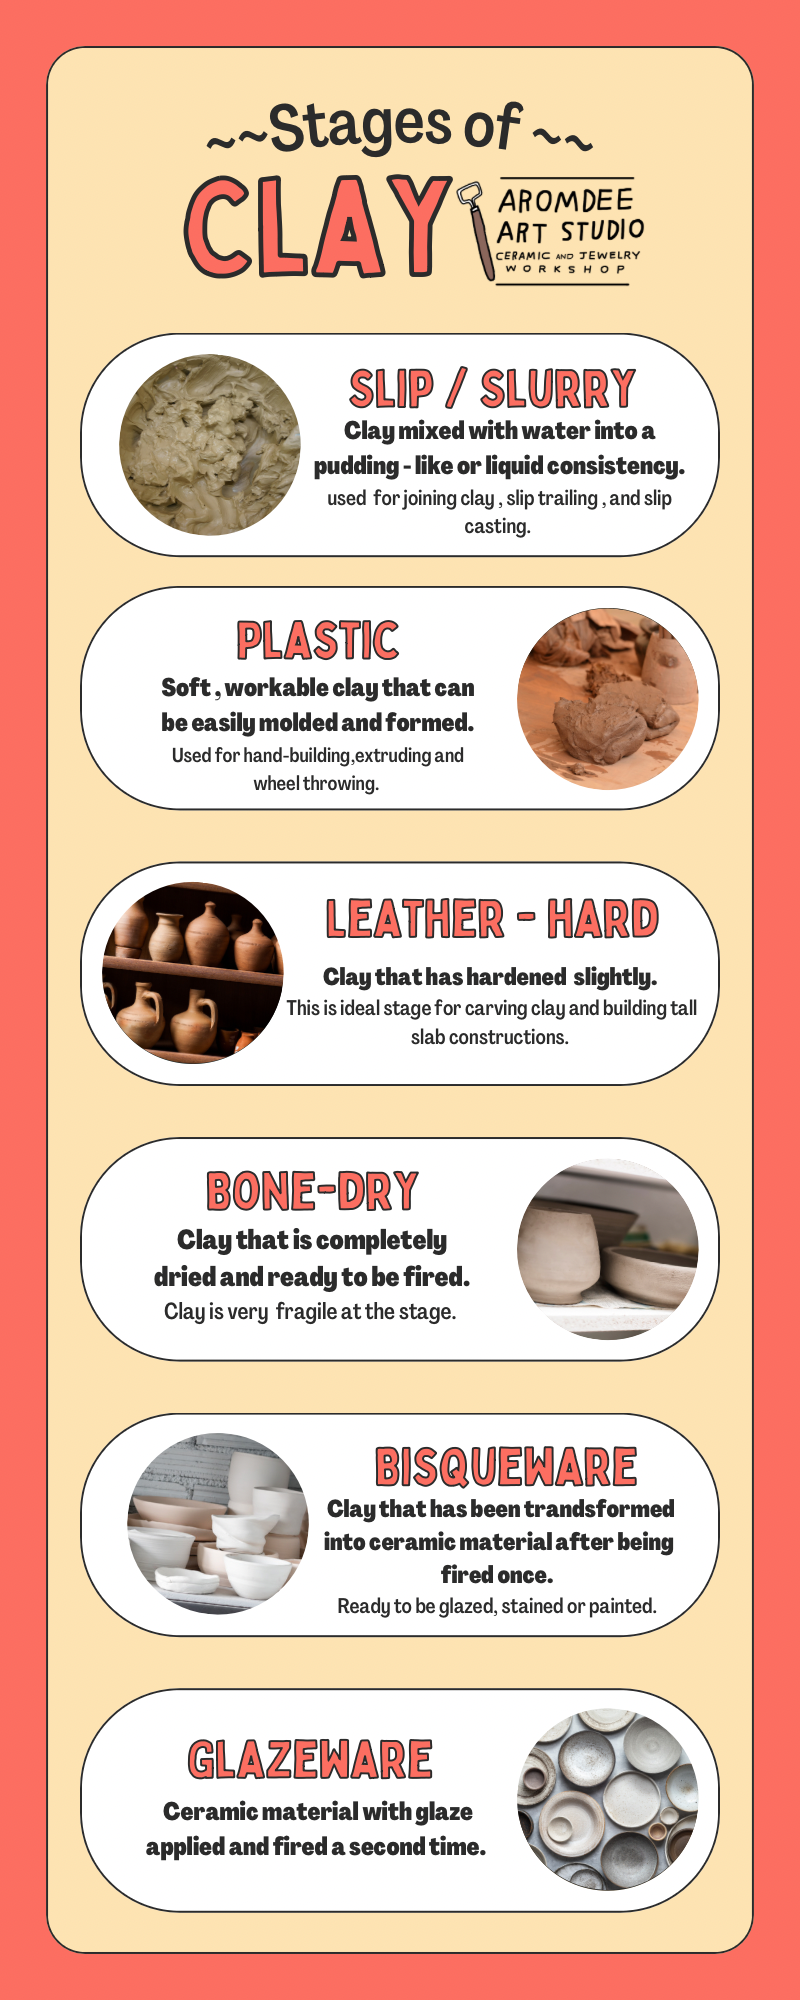
1. Slip / Slurry
Slip is clay with added water to make it into a paste or liquid.
Use : Slip is most commonly used to join pieces of wet or leather hard clay together. It can also be used decoratively. Color can be added to slip to make a decorating medium which can be painted on to wet or leather hard clay or applied in lines with a pipette (‘slip trailed’). Slip can also be mixed with chemicals to make it extra runny and used with a plaster mold to cast pieces of pottery in a process known as "slip casting".
2. Plastic
The plastic stage of clay is also referred to as the workable stage.
Some of the moisture has evaporated in the plastic stage. The clay can now be manipulated into different forms, either by hand or by using a pottery wheel.
Use : In the plastic stage, the clay is flexible and can be molded into any form or shape you desire e.g. throw pots on the wheel, roll out flat slabs, to clay shapes cut out with cookie cutters, pull handles, impress marks in or hand build sculptures.
3. Leather hard
Leather hard clay is where the clay has had time to dry after the plastic stage. The clay should be stiff enough that your fingers won’t leave a mark on the vessel even with pressure.
Use : In this stage, clay is either soft leather hard or stiff leather hard. Soft leather hard is an excellent stage for attaching other pieces of clay together with slip. Stiff leather hard is useful for carving and trimming.
4. Bone dry / Greenware
The bone dry stage entails the clay having zero moisture and is completely dry to the touch with a lighter color. Leaving your clay out to dry for a week or more will bring you to the bone dry stage.
It’s important to remember that at this stage, the clay is extremely fragile. As much as possible, you should avoid any touching, handling, or transporting of your clay project when it’s bone dry. Your project cannot be repaired if broken at this stage.
Use : You can apply underglaze to the piece. You’re nearly ready to put your piece in the kiln. On the other hand, old, broken off pieces of bone dry clay are perfect for making slip when needed.
5. Bisqueware
Bisque refers to clay which has been fired once. This causes the clay to change permanently making it much harder but still porous enough to absorb the glazes.
Use : This is the stage at which glaze is applied ready for the final firing. Work can be dipped into glaze or glaze can be poured over the bisque pot. Water is absorbed into the clay making the glaze stick to the surface of the pot. You can apply underglaze at this stage before glazing.
6. Glazeware
The piece is now done. This is the stage that your everyday coffee mug or potted plant is in. In the glazeware stage, your piece is microwave safe, dishwasher, and everything safe. Except for throwing it on the ground ;).


CONVERSATION